


You can get everything on eBay, but I have not found a breakout board to visualize a byte on LEDs.
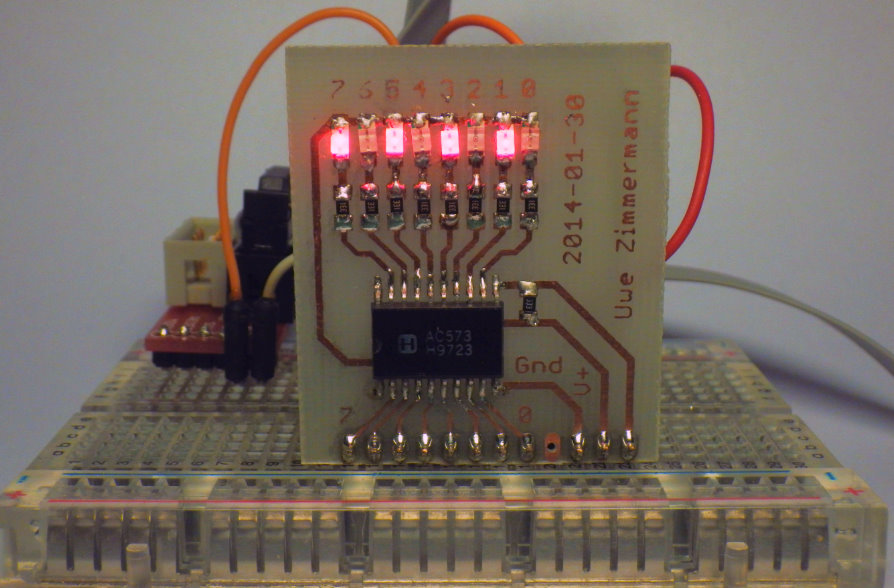
My latest Instructable is on the design of a breakout board to view the state of up to eight bits in a breadboard circuit. I don’t fell I have the time to repeat all the steps from the Instructable here, just let me tell you that it works nicely!
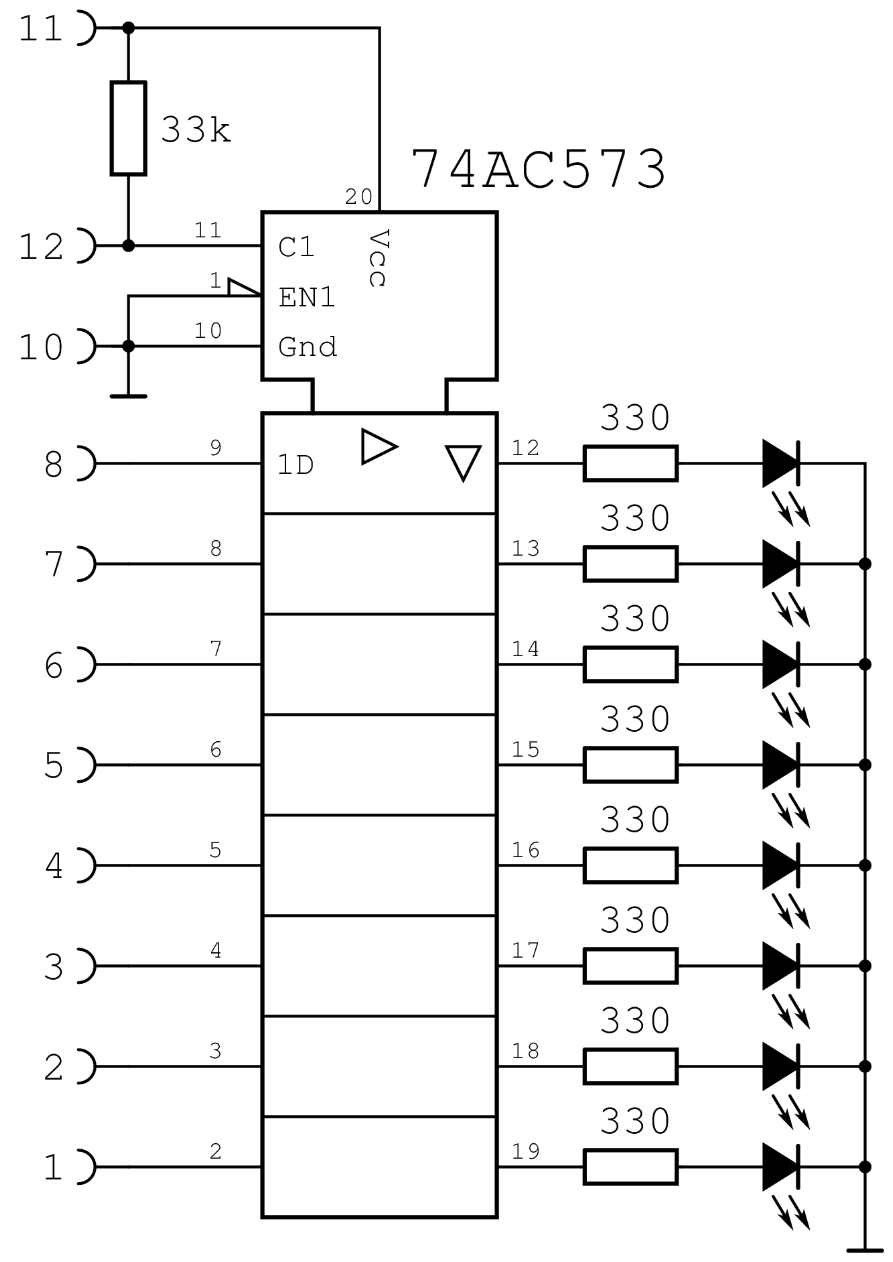
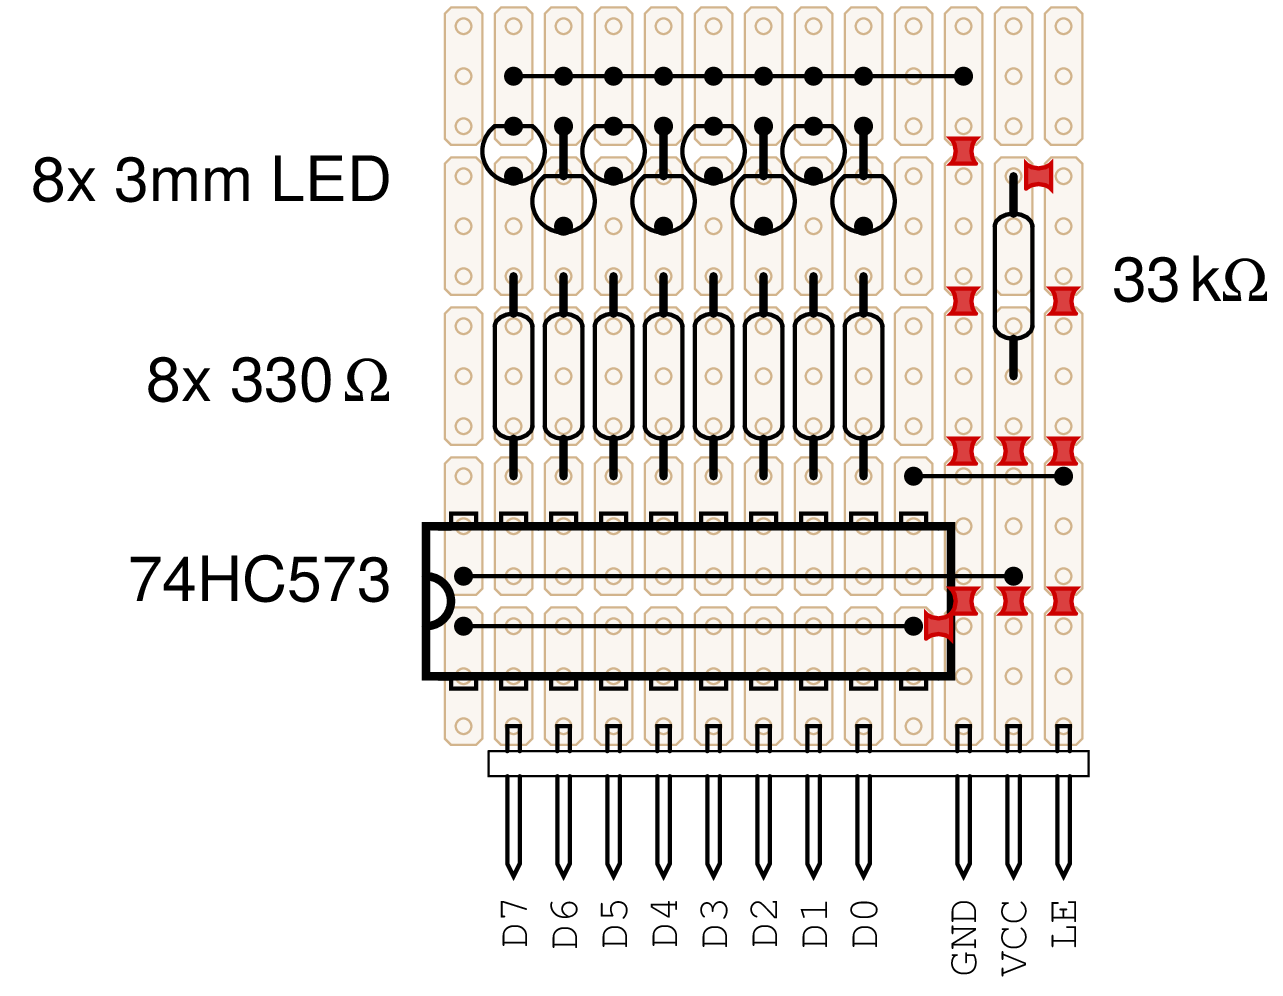
The schematics of the circuit.
The circuit itself is simple: the input signals are buffered with 74AC573 transparent latch with a row of 8 LEDs attached to the outputs of the latch.
The circuit board design, single sided, top-layer in a 1:1 PDF: 20140130_8led_top
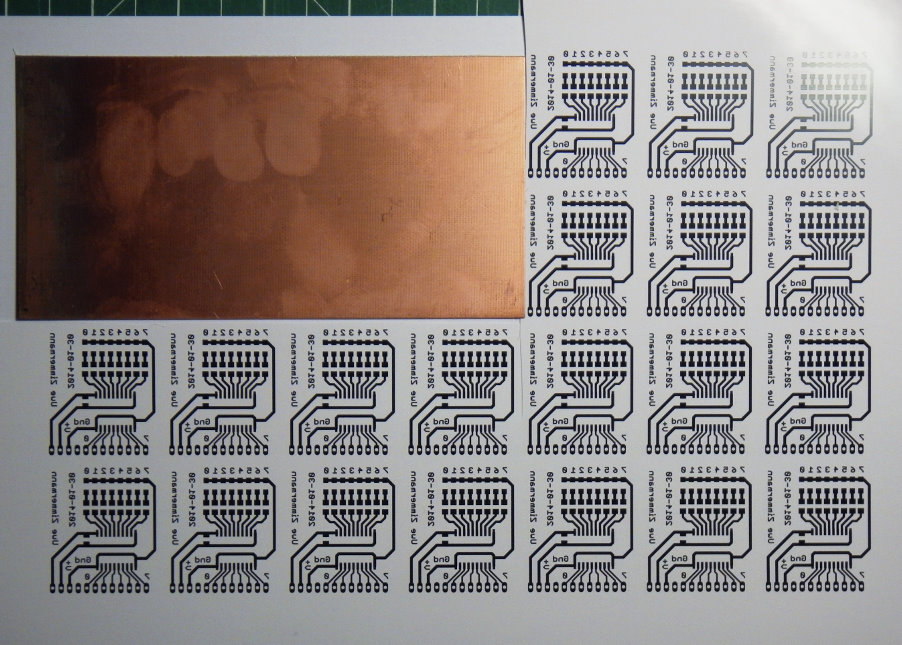
20 remaining of 28 copies of the layout on a sheet of photo paper for the toner-transfer process.

6 of the 8 breakout boards of the first batch.
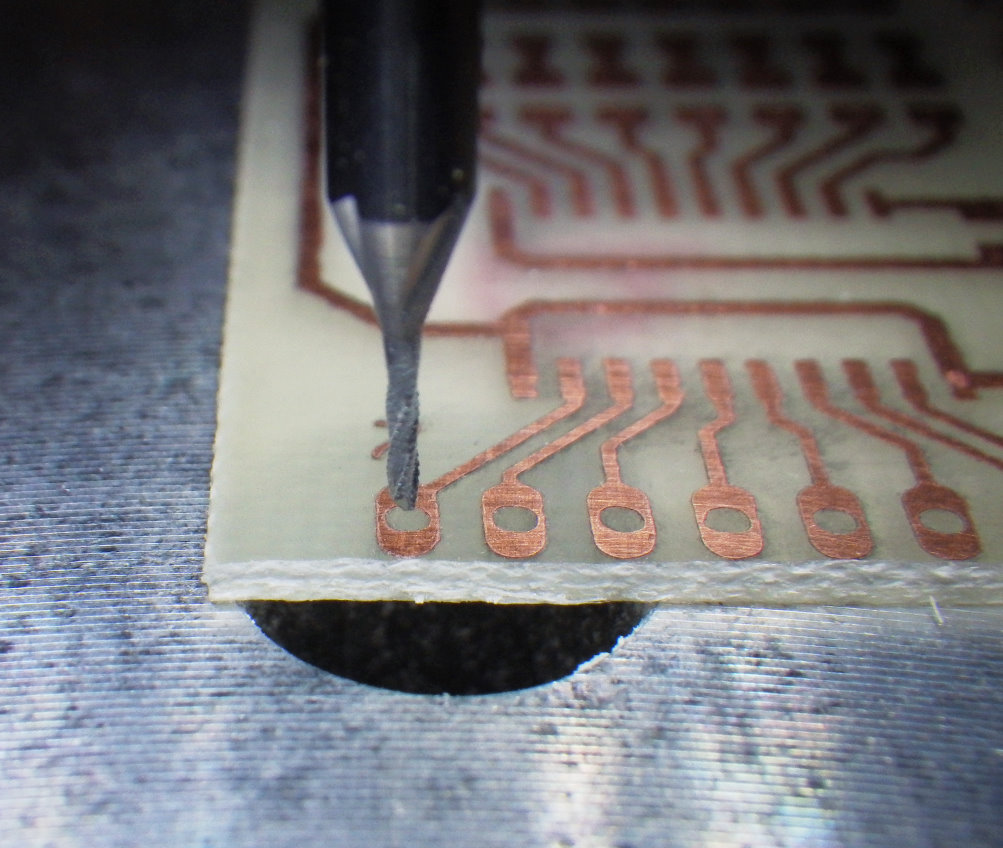
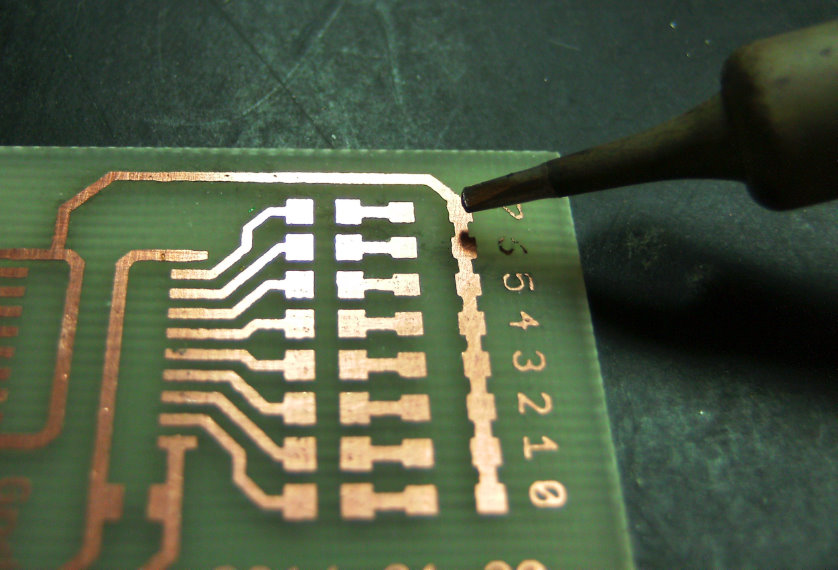
Drilling the holes for the pin-head connector.
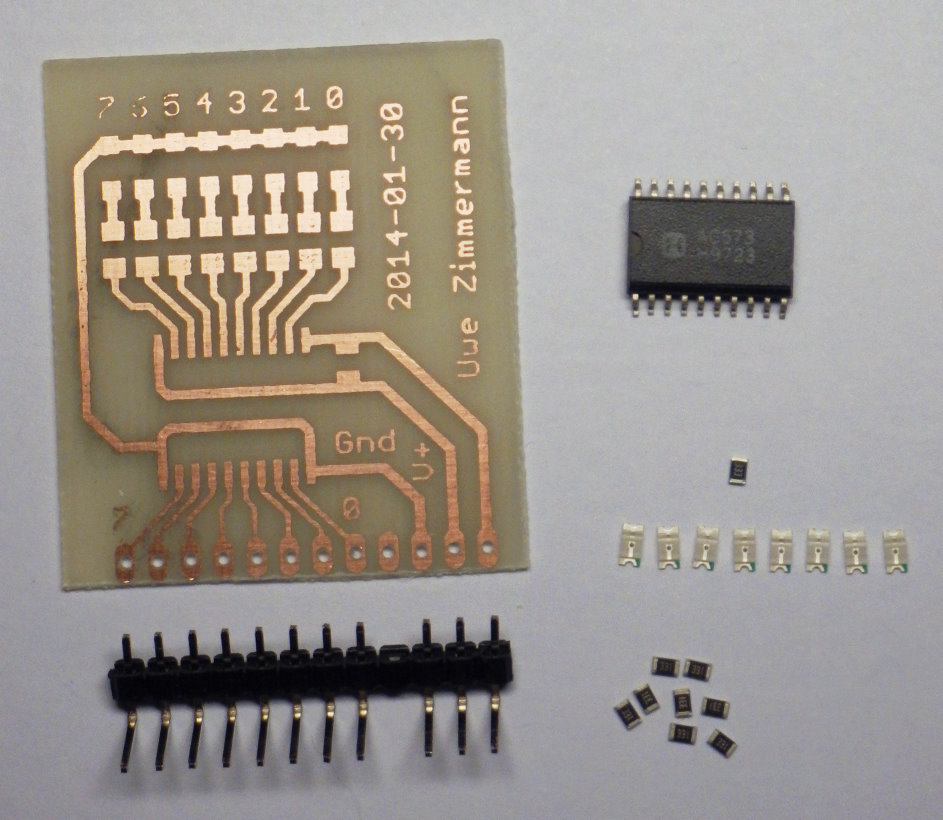
The parts for the circuit – I went for a surface-mounted design.
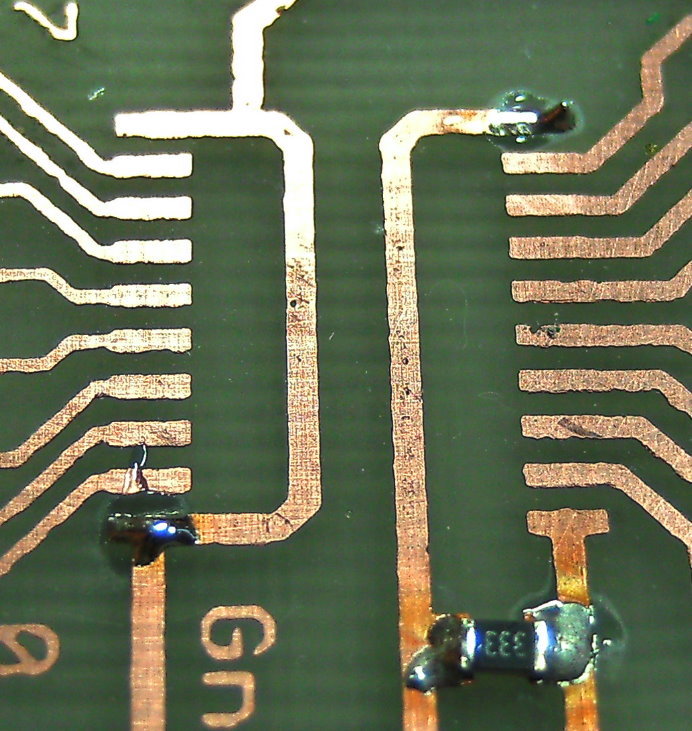
Soldering SMD by hand: applying tin to the pads.
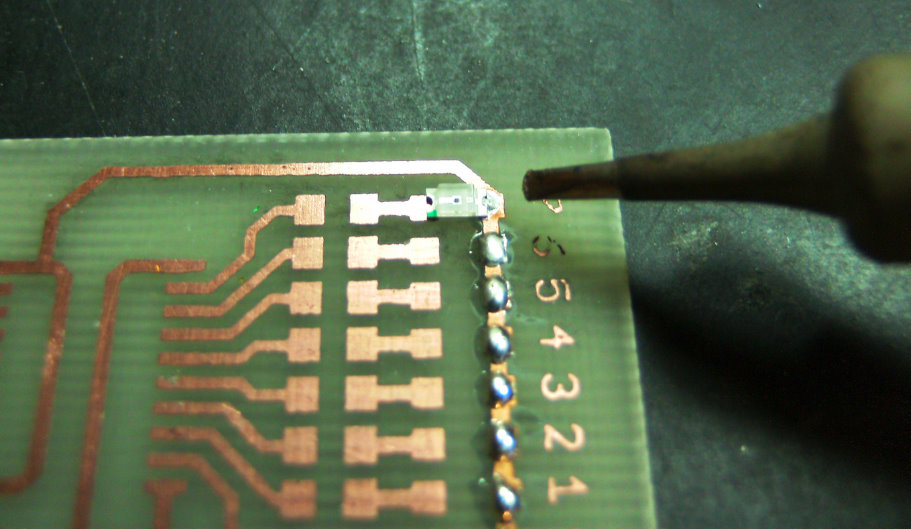
Soldering SMD by hand: putting the device in place and fixing it with the soldering iron.
Soldering SMD by hand: starting the second row of devices.
Soldering SMD by hand: applying tin to the opposite corner pads of a chip.
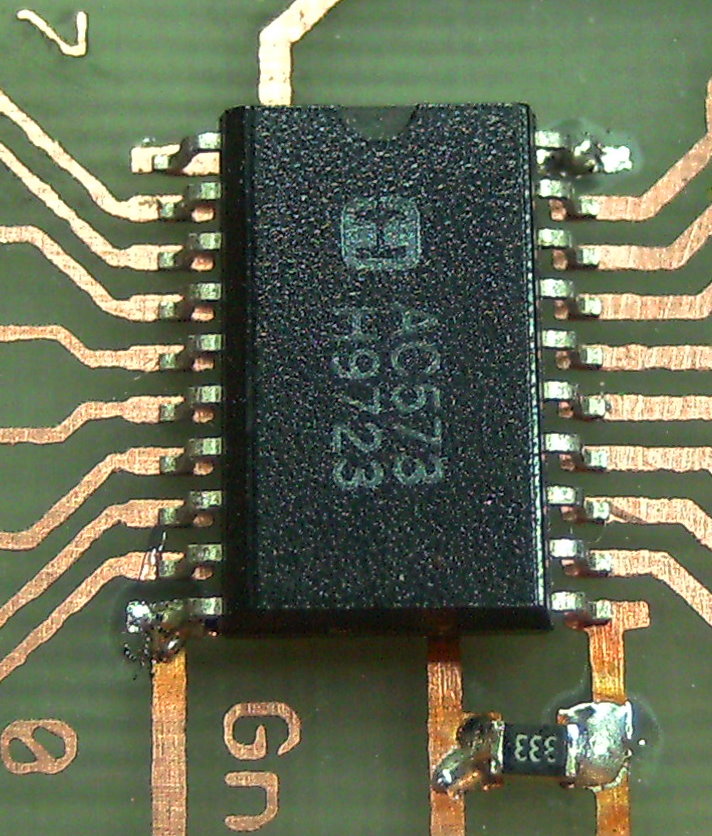
Soldering SMD by hand: attaching the two prepared corners of the chip.
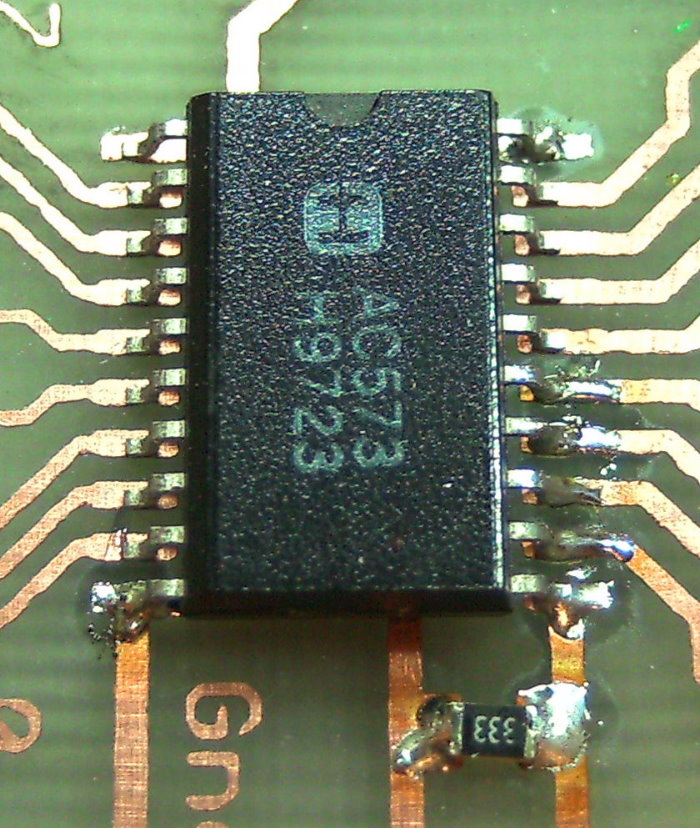
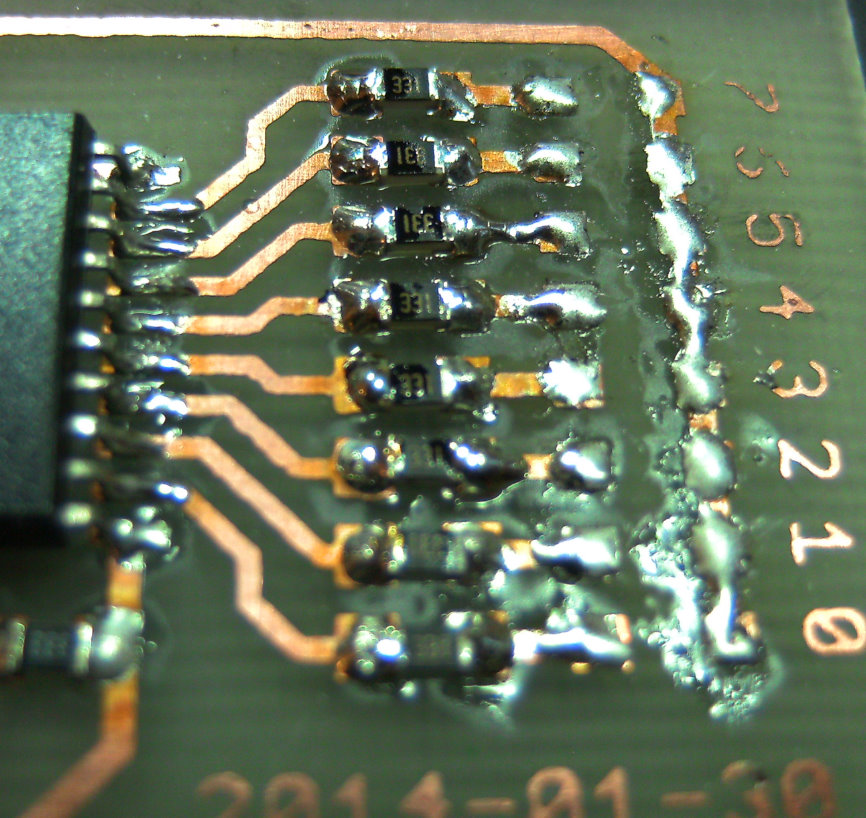
Soldering SMD by hand: soldering the remaining pins.
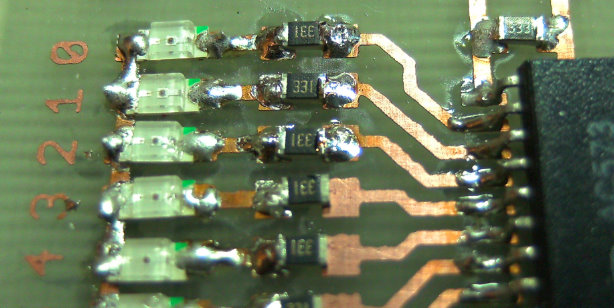
Soldering SMD by hand: I forgot soldering the other side of the resistors.
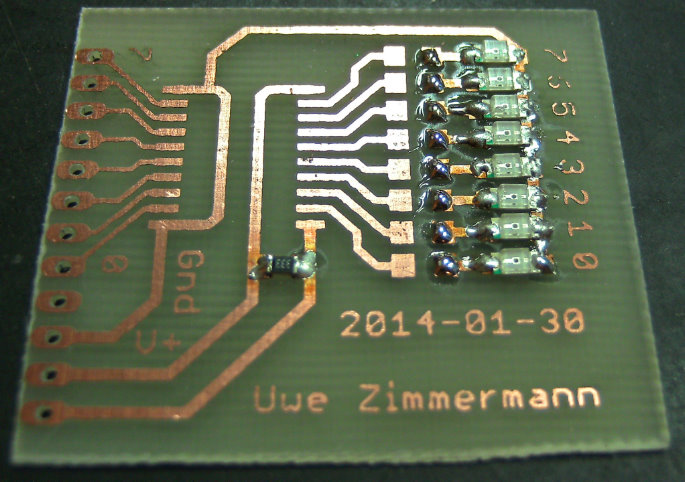
At this point I also discovered that I had soldered the LEDs the wrong way around!
Soldering SMD by hand: all LEDs are desoldered again…
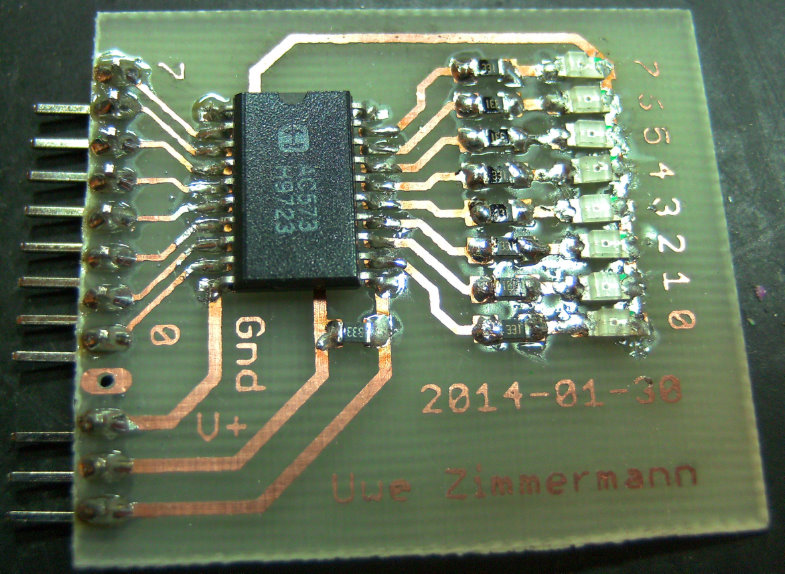
Soldering SMD by hand: Now the LEDs are in the right orientation.
The Eagle-files as a ZIP-archive: 20140130_8led
And finally: Through-the-hole
The same circuit as a through-the-hole layout for my favorite stripboards with 3-hole copper islands.
[…] usual I wanted to be able to make the circuit board using the toner transfer process and therefore it should preferably be a single sided circuit board. But this is difficult with the […]